Email Testing
Testing your emails—and following the pre-send quality control checklist—before sending are really important steps to make sure your emails show up correctly for your recipients!
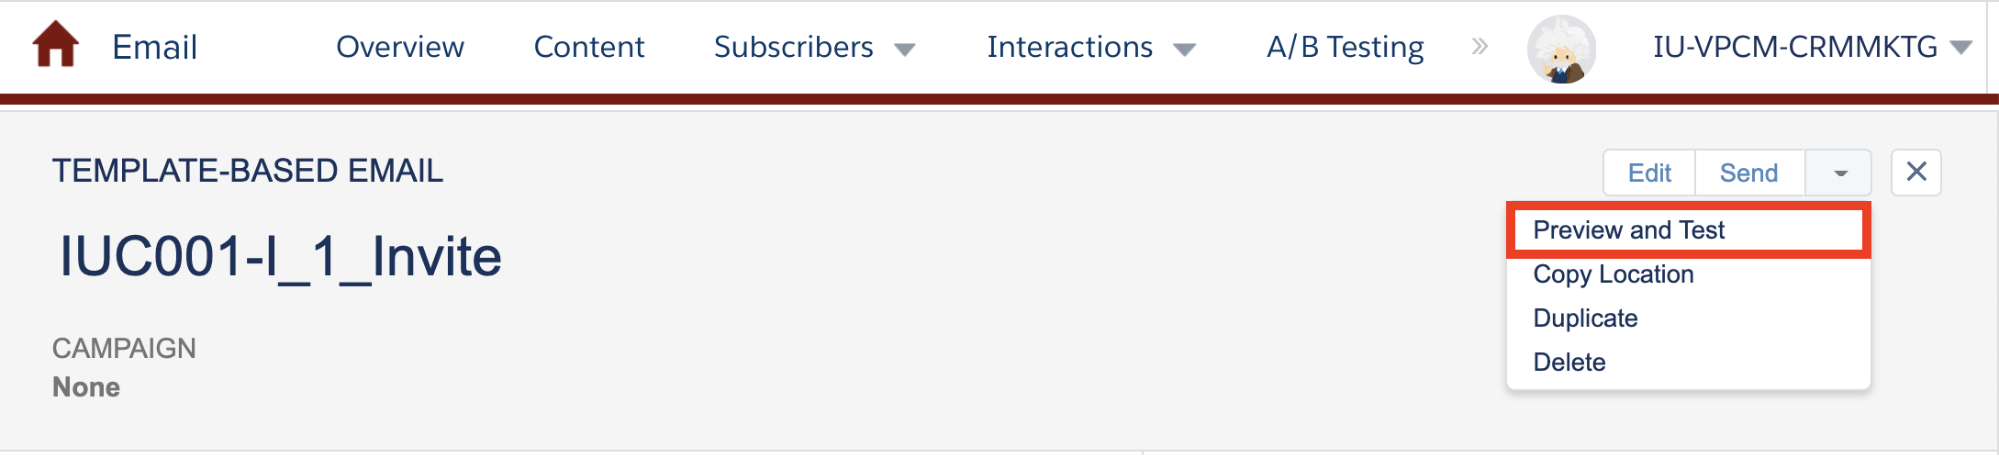
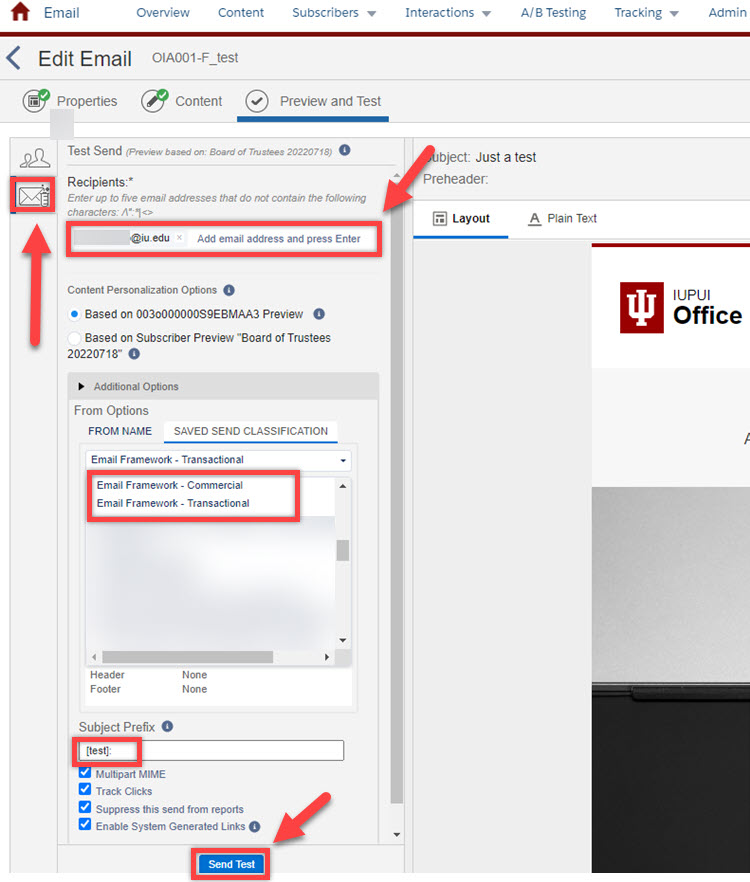
How to send a test email:
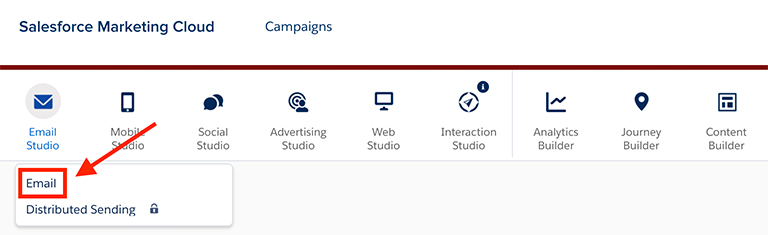
- Navigate to Email Studio within Marketing Cloud.
It's strongly encouraged to use the test send feature outlined above rather than sending your email as a real send. Full email sends can junk up the tracking area of your business unit, and it counts as a real send in our Marketing Cloud billing agreement.
Not getting your test emails?
Marketing Cloud can be a little slow in delivering test emails—10 minutes is not unheard of. But if you've waited more than half an hour and haven't received your test email, it's because of an issue.
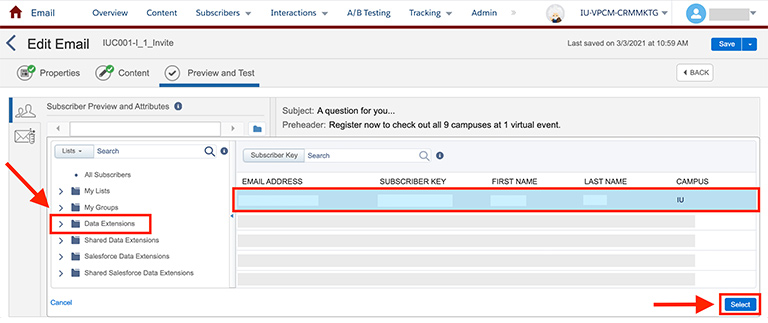
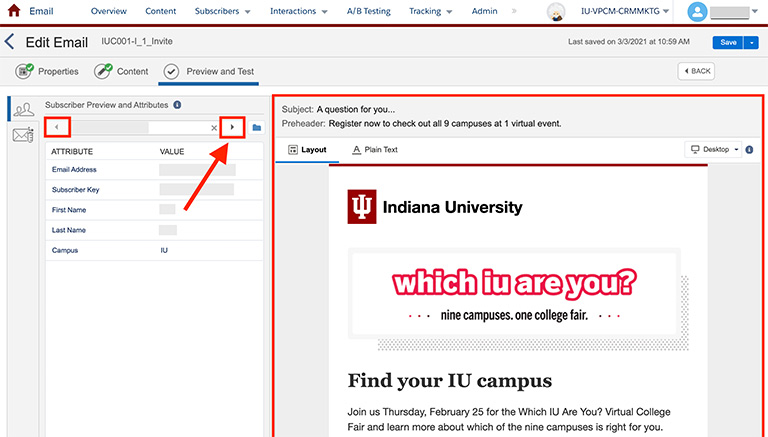
If the subscriber you chose in Step 9 above is unsubscribed from receiving your emails, the test email will not go through. Choose another subscriber and send another test email.
Related to this, it's important to never click the unsubscribe link in a test email. If you do, the record you chose will get unsubscribed from your entire business unit. If you do click the unsubscribe link, and you're using the Email Framework, you can resubscribe. Click on unsubscribe link, and then on the page you land on, click resubscribe.
If you have records that are unsubscribed that you need to resubscribe, send the following info to datareq@iu.edu:
- Business unit you're working in
- Publication list you're using
- Email address and Salesforce ID for record(s) that need to be resubscribed